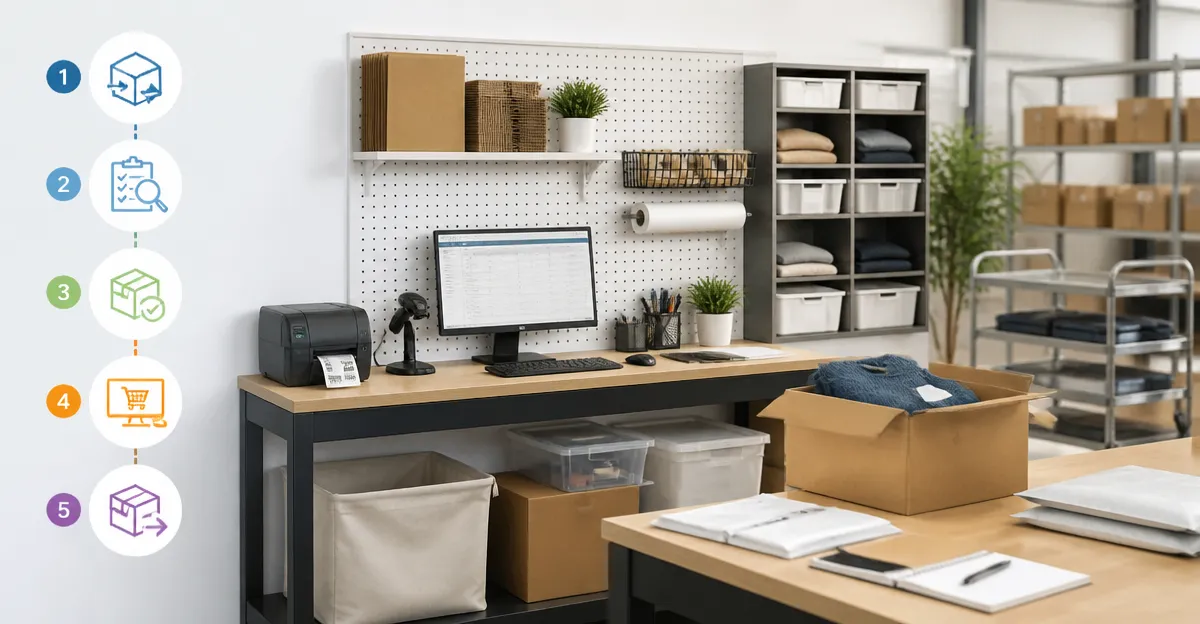
How to Design an Efficient Returns Processing Station Layout for Small Businesses: A Step‑by‑Step Guide
Introduction
Small businesses often struggle with handling product returns in a manner that preserves customer satisfaction while controlling costs. This guide will teach the reader how to design a returns processing station that maximizes workflow efficiency, reduces errors, and optimizes space usage. The reader will learn to assess space, select appropriate furniture, arrange work zones, and implement best‑practice procedures. By following the steps, one can transform a cluttered back‑room into a professional hub that supports rapid turnaround of returned items.
What You'll Need
- Folding tables or workbenches for sorting and inspection
- Mobile printer stand for labeling and documentation
- Adjustable height workbench for heavy or oversized items
- Storage bins, shelving, and waste containers
- Basic office supplies such as pens, labels, and barcode scanners
All of the recommended items are available on Amazon and are listed in the Products Mentioned in This Guide section.
Step 1: Assess Space and Define Workflow Zones
The first step is to measure the available floor area and sketch a rough floor plan. Identify four essential zones: intake, inspection, refurbishment or repackaging, and outbound shipping. Allocate at least 2‑3 square feet per zone to allow staff to move freely without obstruction. Place the intake zone near the receiving dock to minimise transport distance for incoming returns.
Why this matters: a well‑defined flow reduces the number of times an item is handled, which lowers labor costs and the risk of damage. Use a simple tape layout on the floor to visualise traffic patterns before purchasing furniture.
Step 2: Choose a Portable Folding Table for the Intake Zone
For the intake zone, a lightweight yet sturdy folding table provides a convenient surface to place returned packages as they arrive. The Byliable 4ft Folding Table offers a 48‑inch length, high‑density polyethylene top, and powder‑coated steel legs that support up to 300 lbs. It folds in half, measures 24 × 24 × 2.8 inches when stored, and weighs only 18 lbs, making it easy to reposition as workflow evolves. Priced at $59.99 with a 4.7‑star rating from 1,505 reviews, it provides excellent value for small operations.
Why this product is useful: the table’s portable design allows the intake area to be reconfigured during peak seasons, and the beveled edges protect staff when handling heavy boxes. Its waterproof surface simplifies cleaning after spills of packing material.
Step 3: Install a Height‑Adjustable Folding Table for Inspection
The inspection zone benefits from a table whose height can be altered to accommodate different product types, from low‑profile electronics to tall appliances. The Our Modern Space 4ft Folding Table features four button‑press height adjustment ranging from 20.5 inches to 29 inches, a heavy‑duty plastic top, and a steel frame rated for 300 lbs. It costs $45.45 and holds a 4.5‑star rating based on 4,515 reviews.
Why this product is useful: adjustable height reduces ergonomic strain for staff who must examine items at eye level, and the built‑in handles simplify transport between zones. The table folds in half for compact storage when not in use, preserving valuable floor space.
Step 4: Set Up a Heavy‑Duty Workbench for Refurbishment
When items require repair, repackaging, or component replacement, a robust workbench is essential. The VEVOR Adjustable Workbench provides a 61 × 20‑inch oak surface, a 2,000‑lb load capacity, and 11 height settings from 27.1 inches to 36 inches. Integrated power outlets and USB ports enable the use of powered tools without additional extension cords. It is priced at $157.67 and carries a 4.4‑star rating from 632 reviews.
Why this product is useful: the high load capacity allows heavy machinery or bulk inventory to be processed safely, while the built‑in outlets keep cords organised and reduce trip hazards. Adjustable height accommodates both seated and standing work, improving ergonomics for diverse tasks.
Step 5: Add a Mobile Printer Stand for Labeling and Documentation
Accurate labeling is critical to ensure returned items are tracked correctly through the system. The HOOBRO Mobile Printer Stand offers three tiers, a built‑in power outlet, four USB ports, and optional casters with brakes. It supports up to 44 lb on the top shelf and 17 lb on each mesh shelf, making it suitable for a printer, scanner, and reference materials. The stand costs $39.99 and enjoys a 4.4‑star rating from 1,078 reviews.
Why this product is useful: the integrated power source eliminates the need for separate power strips, reducing cable clutter. The mobile casters allow the stand to be moved close to any work zone, and the lockable wheels keep it stable during printing.
Step 6: Organize Storage Bins and Shelving
Clear labeling of storage bins for categories such as "defective," "refurbish," "resell," and "recycle" streamlines decision‑making. Use stackable plastic bins with snap‑tight lids to protect items from dust and moisture. Place bins on the side of the workbench to keep the primary work surface free for active tasks.
Why this matters: organized storage reduces the time spent searching for the correct bin, which improves overall throughput. Ensure that each bin is clearly marked with a printed label generated from the printer on the mobile stand.
Step 7: Implement a Standard Operating Procedure (SOP)
Document each step of the returns process, from receipt to final disposition, and display the SOP near the intake zone. Include checklists for visual inspection, functional testing, cleaning, and repackaging. Assign responsibility for each zone to specific team members to create accountability.
Why this is essential: a written SOP reduces variability, ensures compliance with quality standards, and provides training material for new employees. Regularly review the SOP to incorporate feedback and process improvements.
Tips & Pro Tips
- Use anti‑fatigue mats in the inspection and workbench zones to reduce foot strain during long shifts.
- Label the height settings on the adjustable tables with removable stickers to speed up transitions between tasks.
- Install a wall‑mounted whiteboard for real‑time status updates on each return batch.
- Schedule a weekly deep‑clean of all surfaces; the HDPE tabletop of the Byliable table wipes clean with a damp cloth, preventing buildup of adhesive residue.
- Consider adding a barcode scanner integrated with your inventory system to automate data entry.
Troubleshooting
Problem: The folding table wobbles on uneven flooring. Solution: Adjust the built‑in leveling feet on the table legs or place a thin rubber mat underneath to create a level surface.
Problem: The workbench power outlets are insufficient for multiple tools. Solution: Use a surge‑protected power strip that plugs into the built‑in outlet on the VEVOR workbench, ensuring the total draw does not exceed the rated capacity.
Problem: Labels fade after exposure to sunlight. Solution: Store the printer stand away from direct windows or use UV‑resistant label paper.
Conclusion
Designing an efficient returns processing station requires careful space planning, selection of adaptable furniture, and clear procedural documentation. By following the seven steps outlined above, a small business can reduce handling time, improve accuracy, and create a safer work environment. The recommended products provide durable, flexible solutions that grow with the business, yet the station can function effectively with alternative tools if needed. Implement the layout, train staff, and continuously refine the process to achieve sustained operational excellence.
Products Mentioned in This Guide
Frequently Asked Questions
What space considerations should I evaluate before setting up a returns processing station?
Measure the available floor area, ensure clear traffic flow, and allocate zones for sorting, inspection, labeling, and storage to avoid bottlenecks.
Which types of worktables are best for handling both small and oversized returns?
Use a combination of folding tables for lightweight items and an adjustable‑height workbench for heavy or bulky products.
How can I organize tools and supplies for maximum efficiency?
Place a mobile printer stand and barcode scanner within arm’s reach of the sorting zone, and keep pens, labels, and waste containers in labeled bins nearby.
What storage solutions help keep a small returns area tidy?
Install shelving units with labeled bins for different product categories and use stackable waste containers for damaged or discarded items.
How do I ensure accurate documentation during the returns process?
Integrate a barcode scanner with your inventory system and label each item at the inspection station using the mobile printer to reduce errors.